Step 1: Add a resource
Log in to the Service Lifecycle Management (SLM) user interface of your host (e.g. https://myhost.local). As the SLM comes with a self-signed https certificate you will get a warning in your browser when trying to access the UI for the first time. You can ignore this warning and proceed to the UI:

If not changed, default user is fabos and password password.
First, you need to add a resource which will be managed by the Service Lifecycle Management.
GO TO
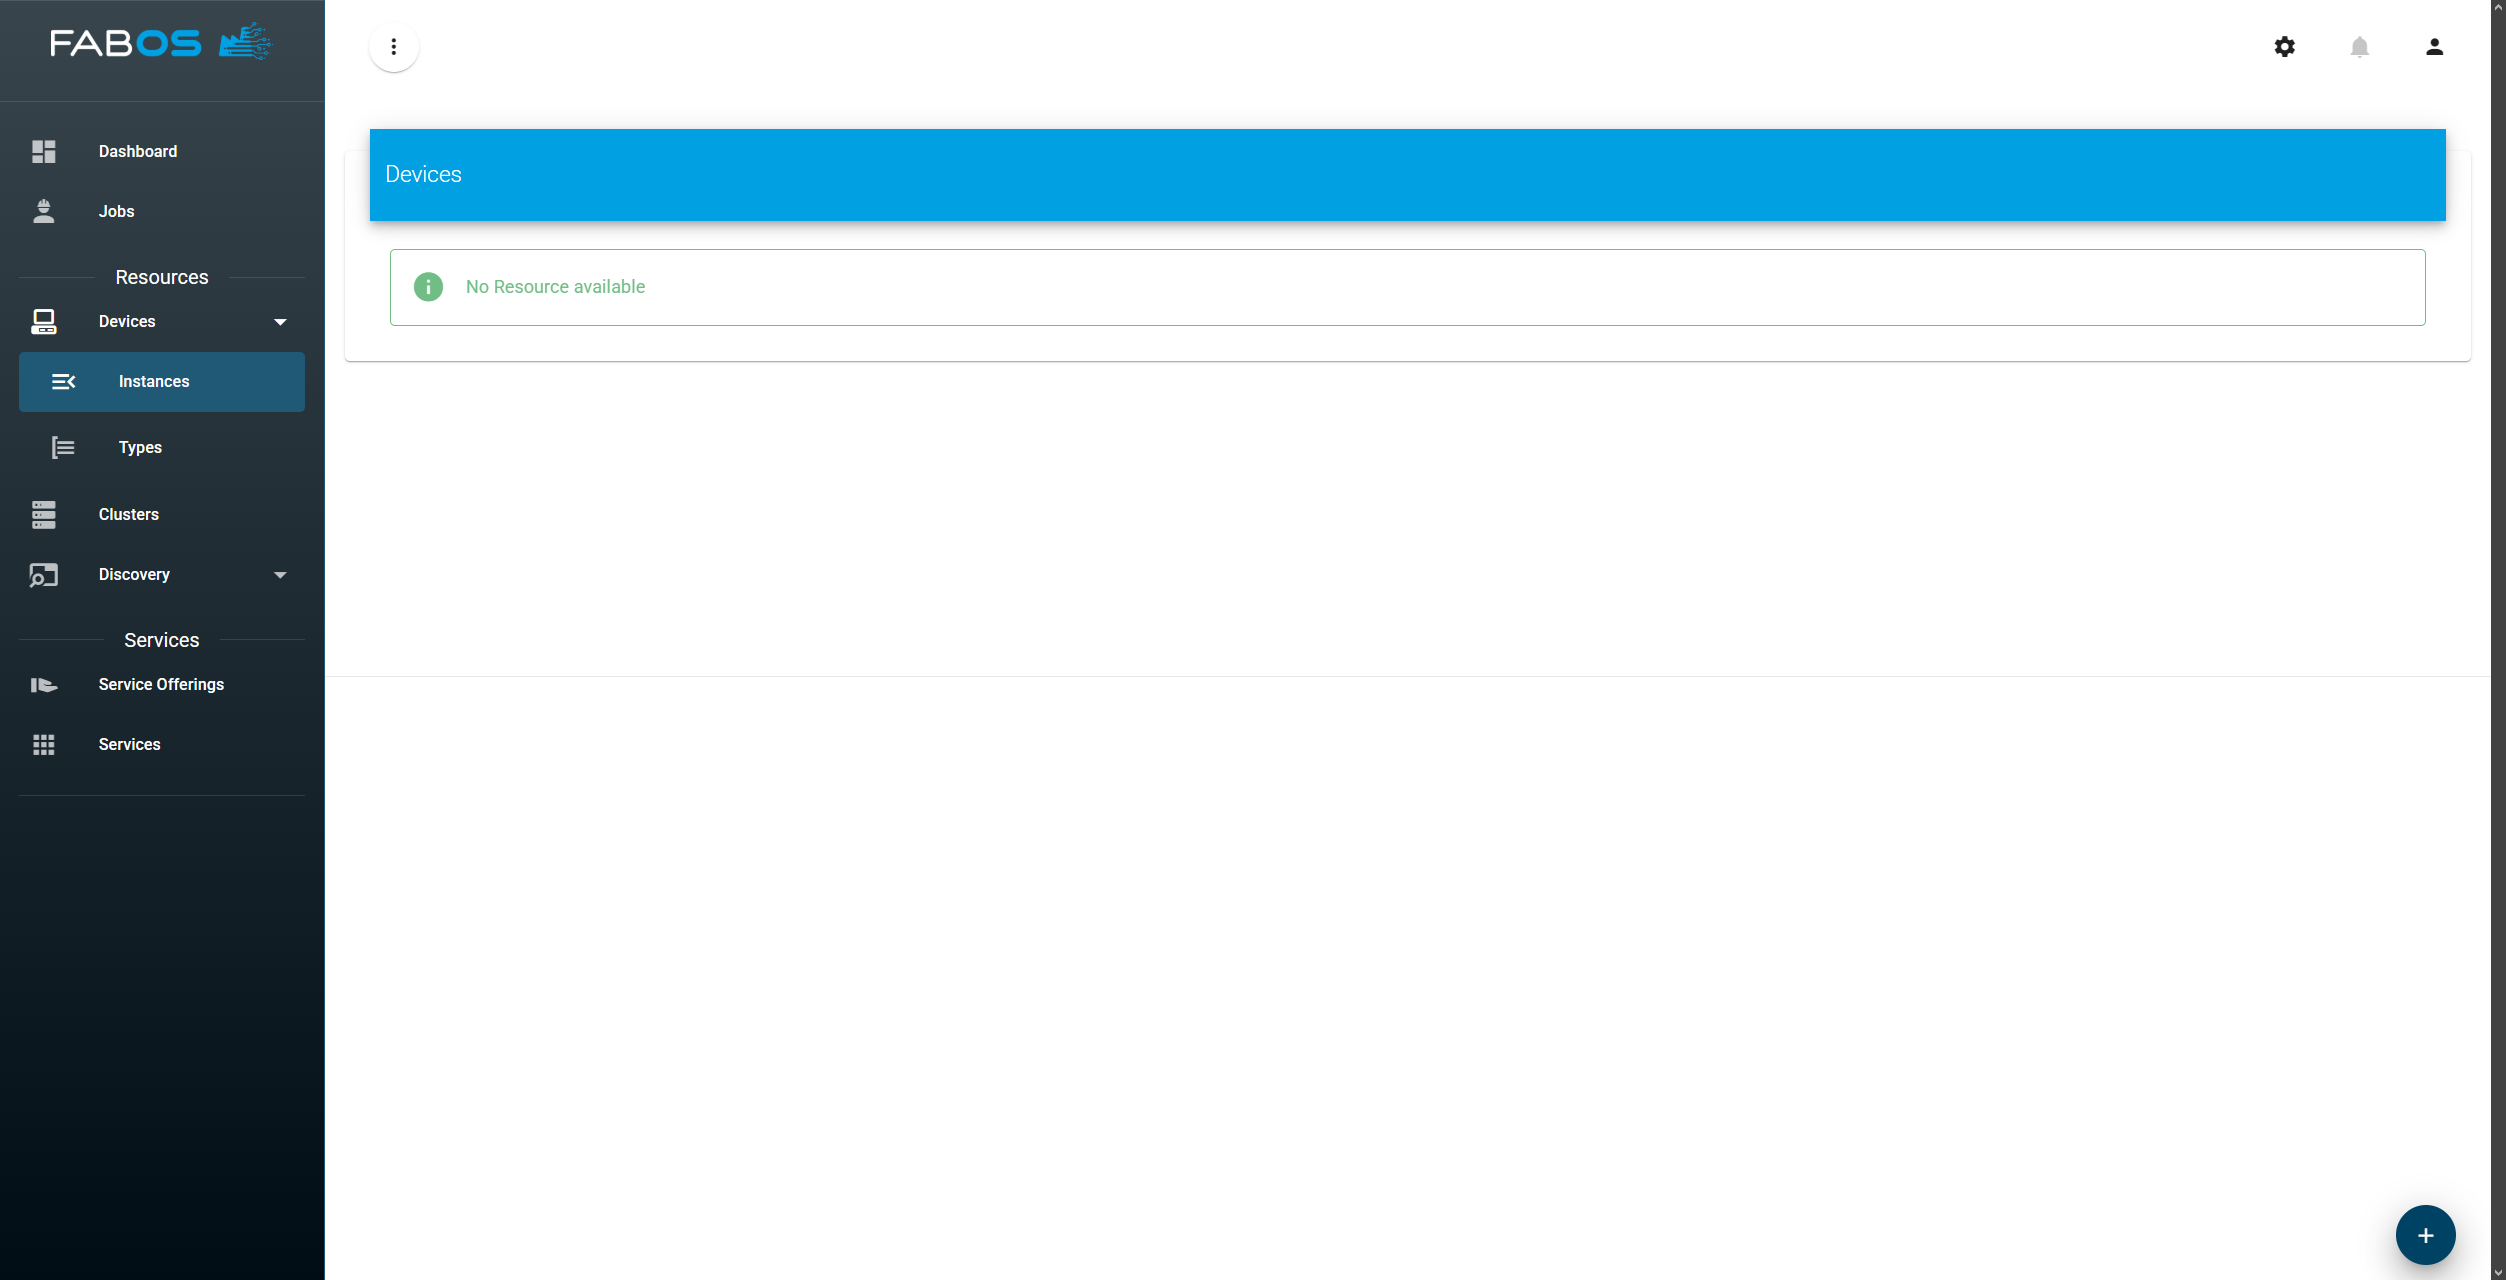
Devices > Instances
...and click on the + button in the lower right corner:
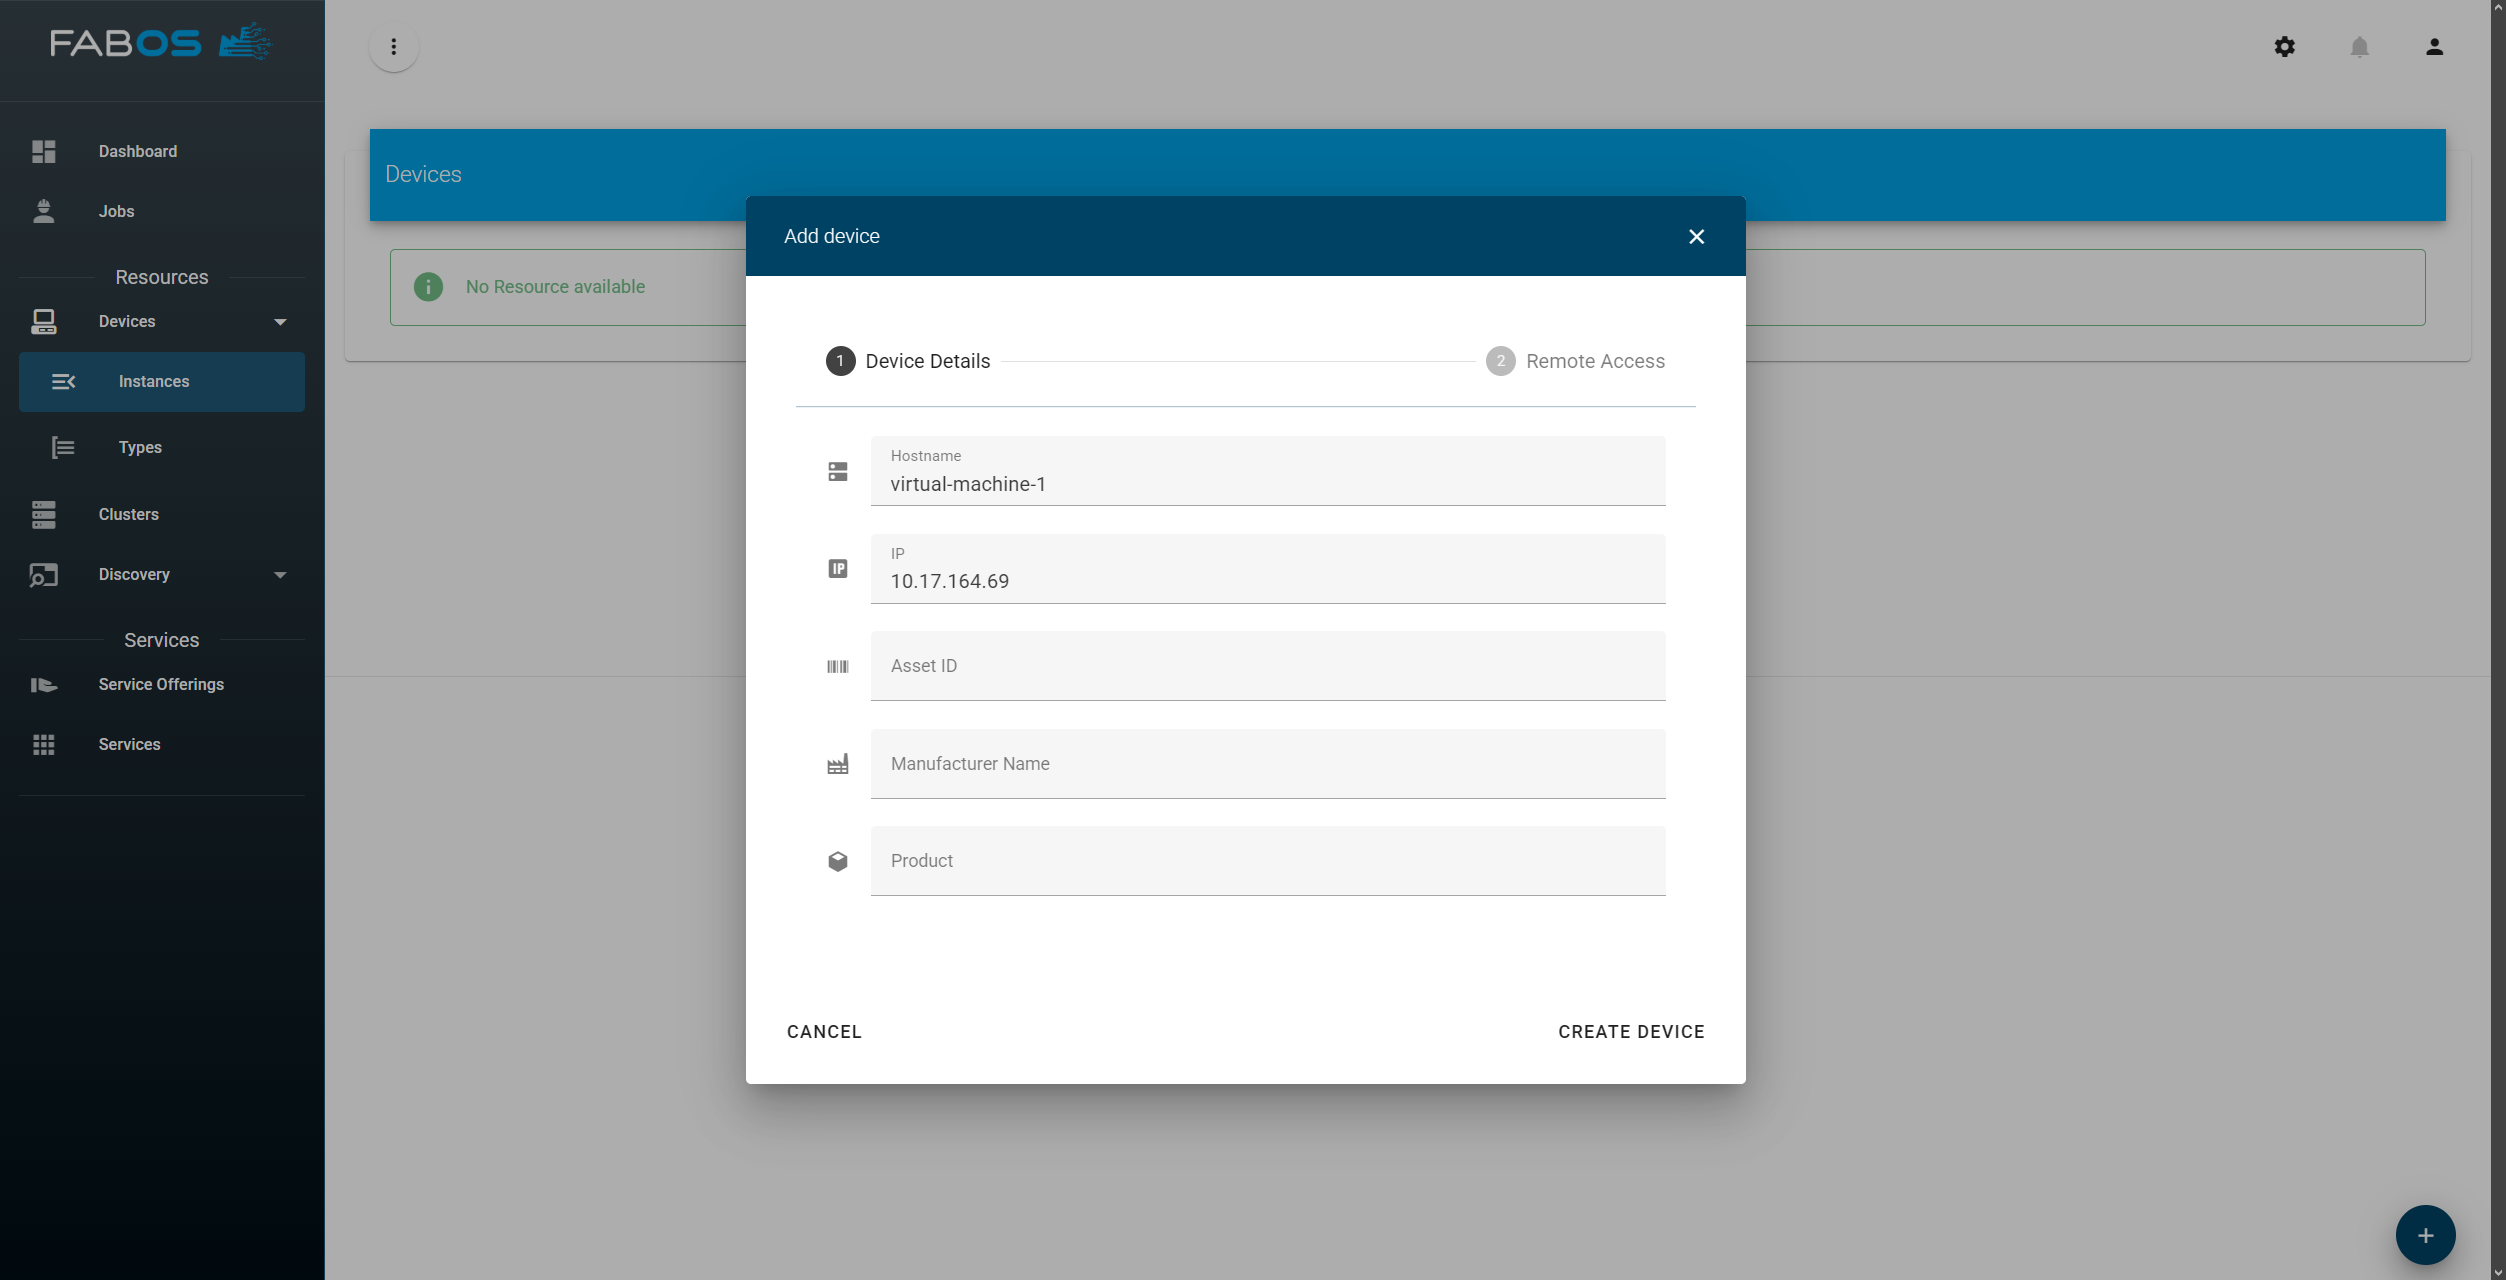
Enter hostname (if not available choose as you like), a valid IP address and click on Create Device:
If you do have remote access to the device select Connection Type, Connection Port and Credential Type in the next step. Otherwise click Skip to add the device without connection information. You can add this information later on if needed.
ATTENTION
User must be in group sudo in case you have selected ssh as Connection Type.
Depending on which Credential Type you have selected, you will be asked to enter the corresponding credentials. For example, if you have selected Username / Password you need to enter a valid username and password for the device and a credential name:
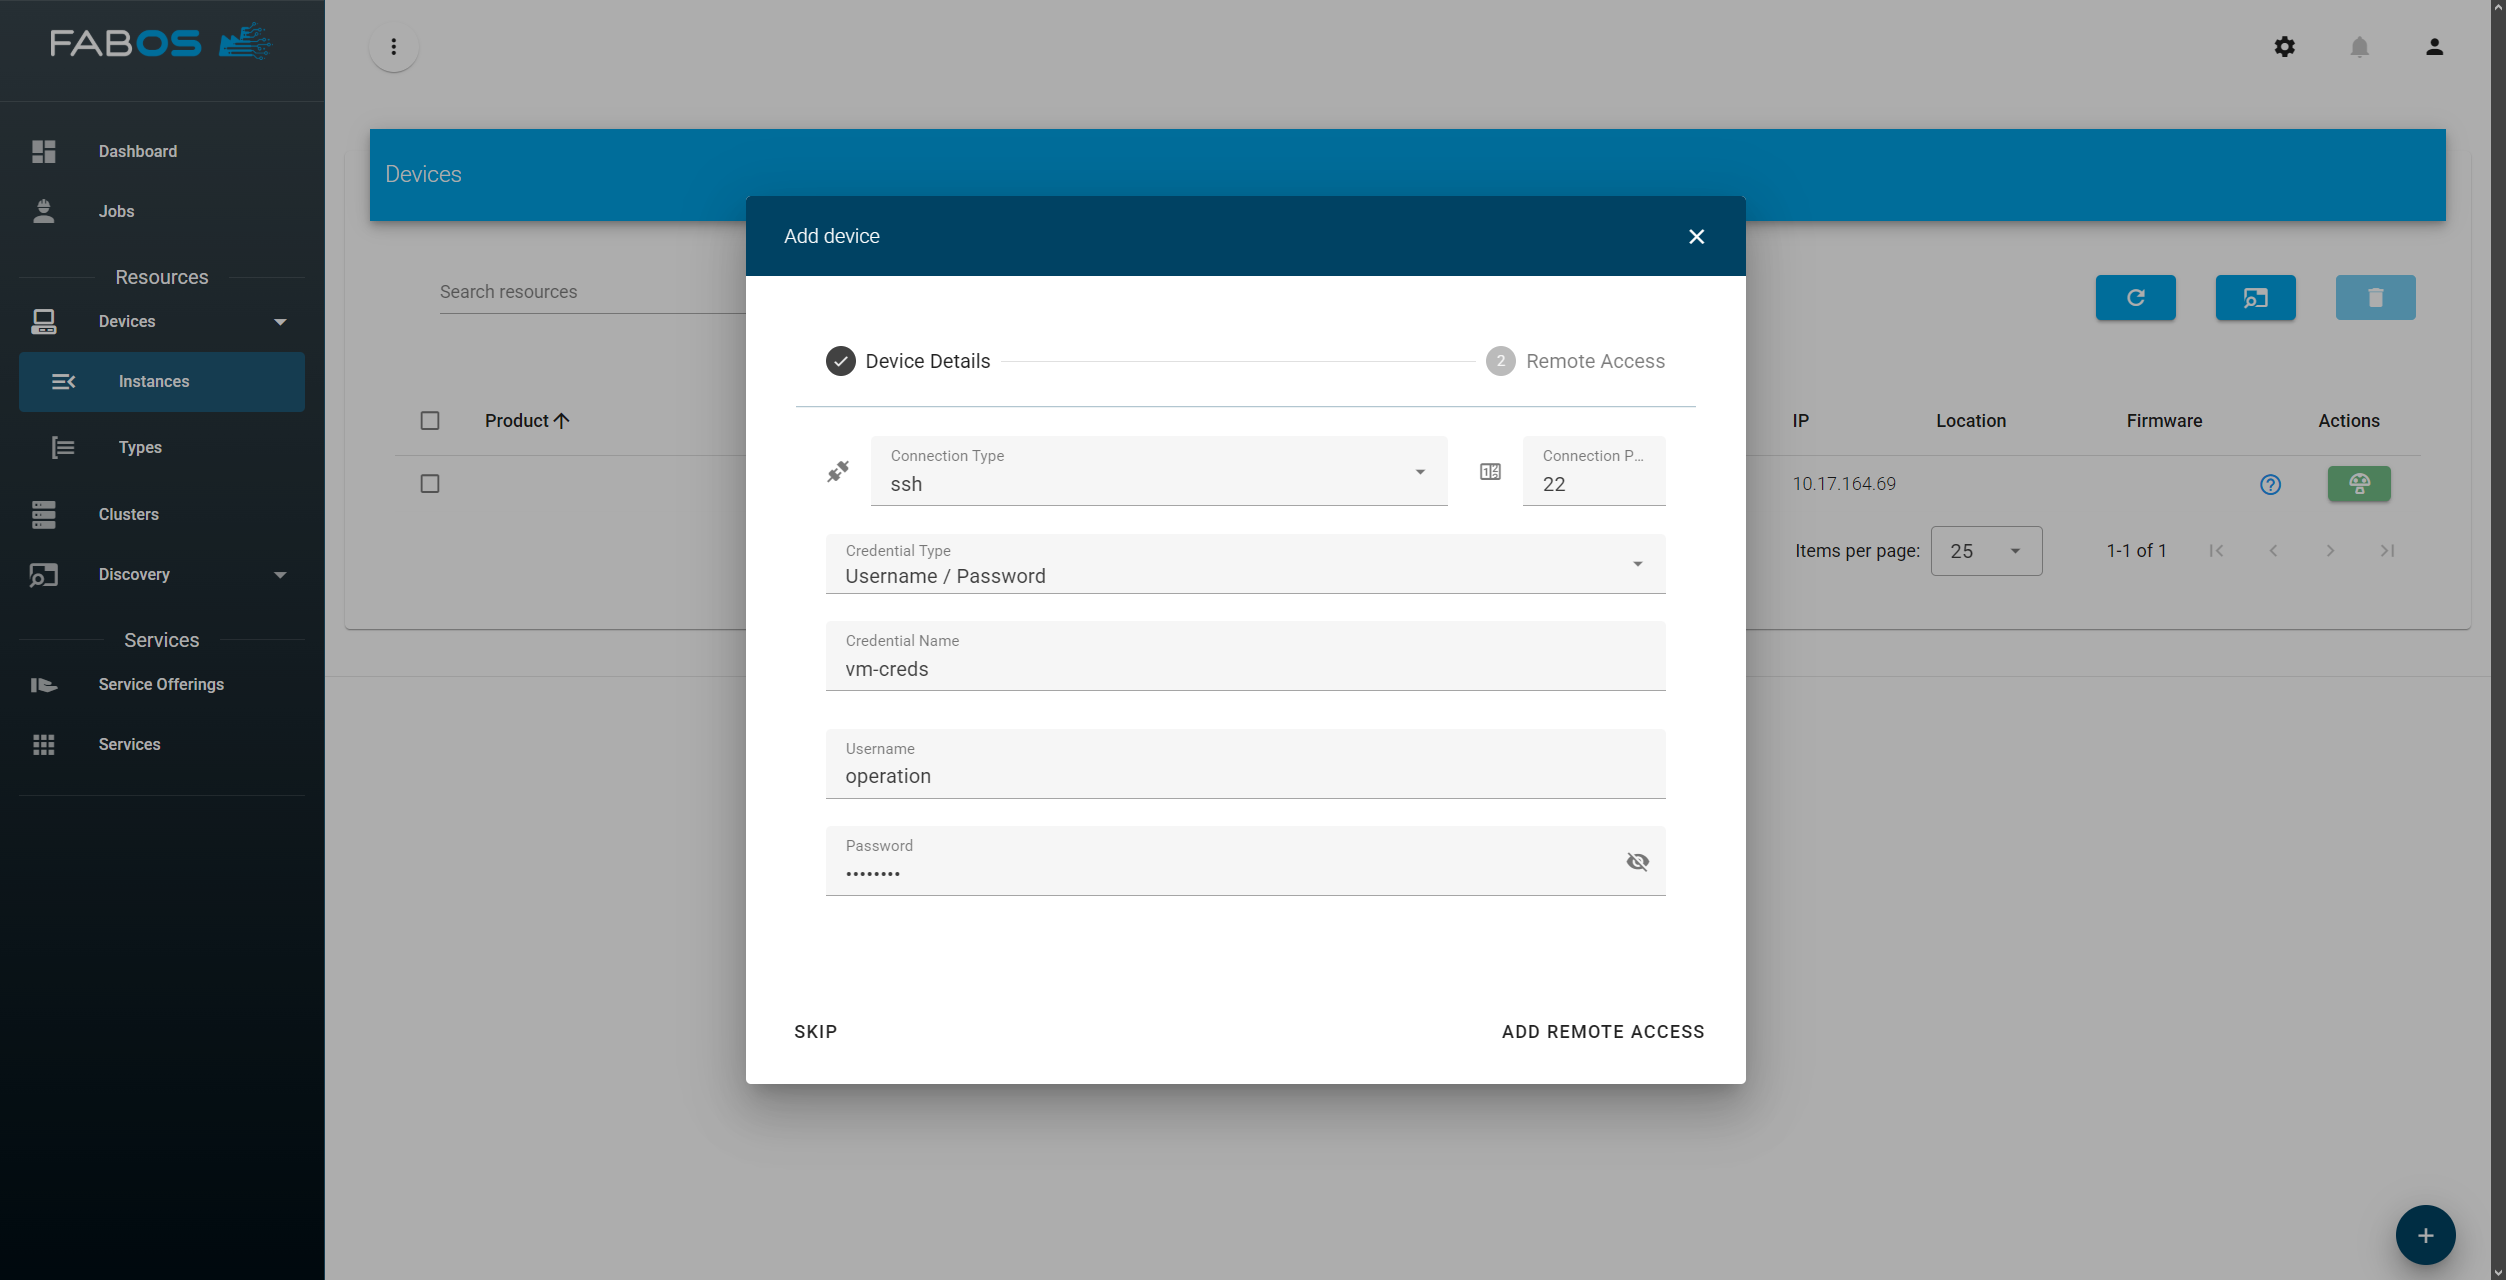
Finally, finish adding the device by click Add Remote Access.
As a result you should see your add device as resource in the overview: 