Installation
Prerequisites
- Docker
Install
The installation of the Eclipse Service Lifecycle Management can be done via an installer component. The installer can be started directly on the host where the SLM should be installed. Alternatively, it can also be started on a different host and install the SLM remotely via SSH. The installers offers an Web-UI to follow the installation process and see the logs. Non-interactive installation is also possible via a CLI mode without UI.
Run the following commands to start the SLM installer. It will start a UI where you can follow start the installation process and see the logs. After the installation is finished, you can stop the installer with the button in the top-right app bar.
ATTENTION
The script will request the hostname where the SLM will be installed. Use lowercase for the hostname to avoid case problems (e.g. with token authentication)
curl -fsSL -o slm-installer.sh https://raw.githubusercontent.com/eclipse-slm/slm/develop/stack/installer/slm-installer.sh
chmod +x slm-installer.sh
./slm-installer.sh --mode ui
Alternative the installer can also be started in CLI mode without UI. In this case the installer will run the installation routine and exit after it has finished:
curl -fsSL -o slm-installer.sh https://raw.githubusercontent.com/eclipse-slm/slm/develop/stack/installer/slm-installer.sh
chmod +x slm-installer.sh
./slm-installer.sh --mode install
HTTPS
SLM initializes its own PKI in Vault, including a dedicated Root CA, and issues certificates used by Traefik. Traefik acts as the HTTPS reverse proxy and terminates TLS for incoming traffic. If you want to use your own certificate chain, place an additional proxy in front of Traefik. For more details, see Architecture - HTTPS.
Uninstall
Run the following commands to start the uninstallation of the SLM:
curl -fsSL -o slm-installer.sh https://raw.githubusercontent.com/eclipse-slm/slm/develop/stack/installer/slm-installer.sh
chmod +x slm-installer.sh
./slm-installer.sh --mode uninstall
Components
Ports
The different components of the stack can be reached under the following ports:
- AWX: http://myhost.local:80
- Consul: http://myhost.local:8500
- Keycloak: http://myhost.local:7080
- Resource Registry: http://myhost.local:9010
- Service Registry: http://myhost.local:9020
- Vault: http://myhost.local:8200
- UI: http://myhost.local:8080
ATTENTION
You need to replace myhost.local with the hostname of the host where you have installated the Service Lifecycle Management (see section Start).
Get configuration
Most of the settings and credentials are created automatically during first start of the stack. If you want to access the different components of the Service Lifecycle Management stack you need to export the configuration. Wait until the stack is fully started and all init containers have stopped. Then run the config exporter container:
docker-compose up --force-recreate config-exporterIt will generate by default a sub-directory config/_conf_generated relative to your docker-compose.yml file containing the configuration of the setup stack (slm-config.yml). If you want another target directory edit in file config-exporter.yml the host path of this volume:
- ./config:/projectKnown Issues
Default Deployment Capabilities missing
By default the SLM setup routine adds deployment capabilities for
- docker
- docker-swarm
- k3s
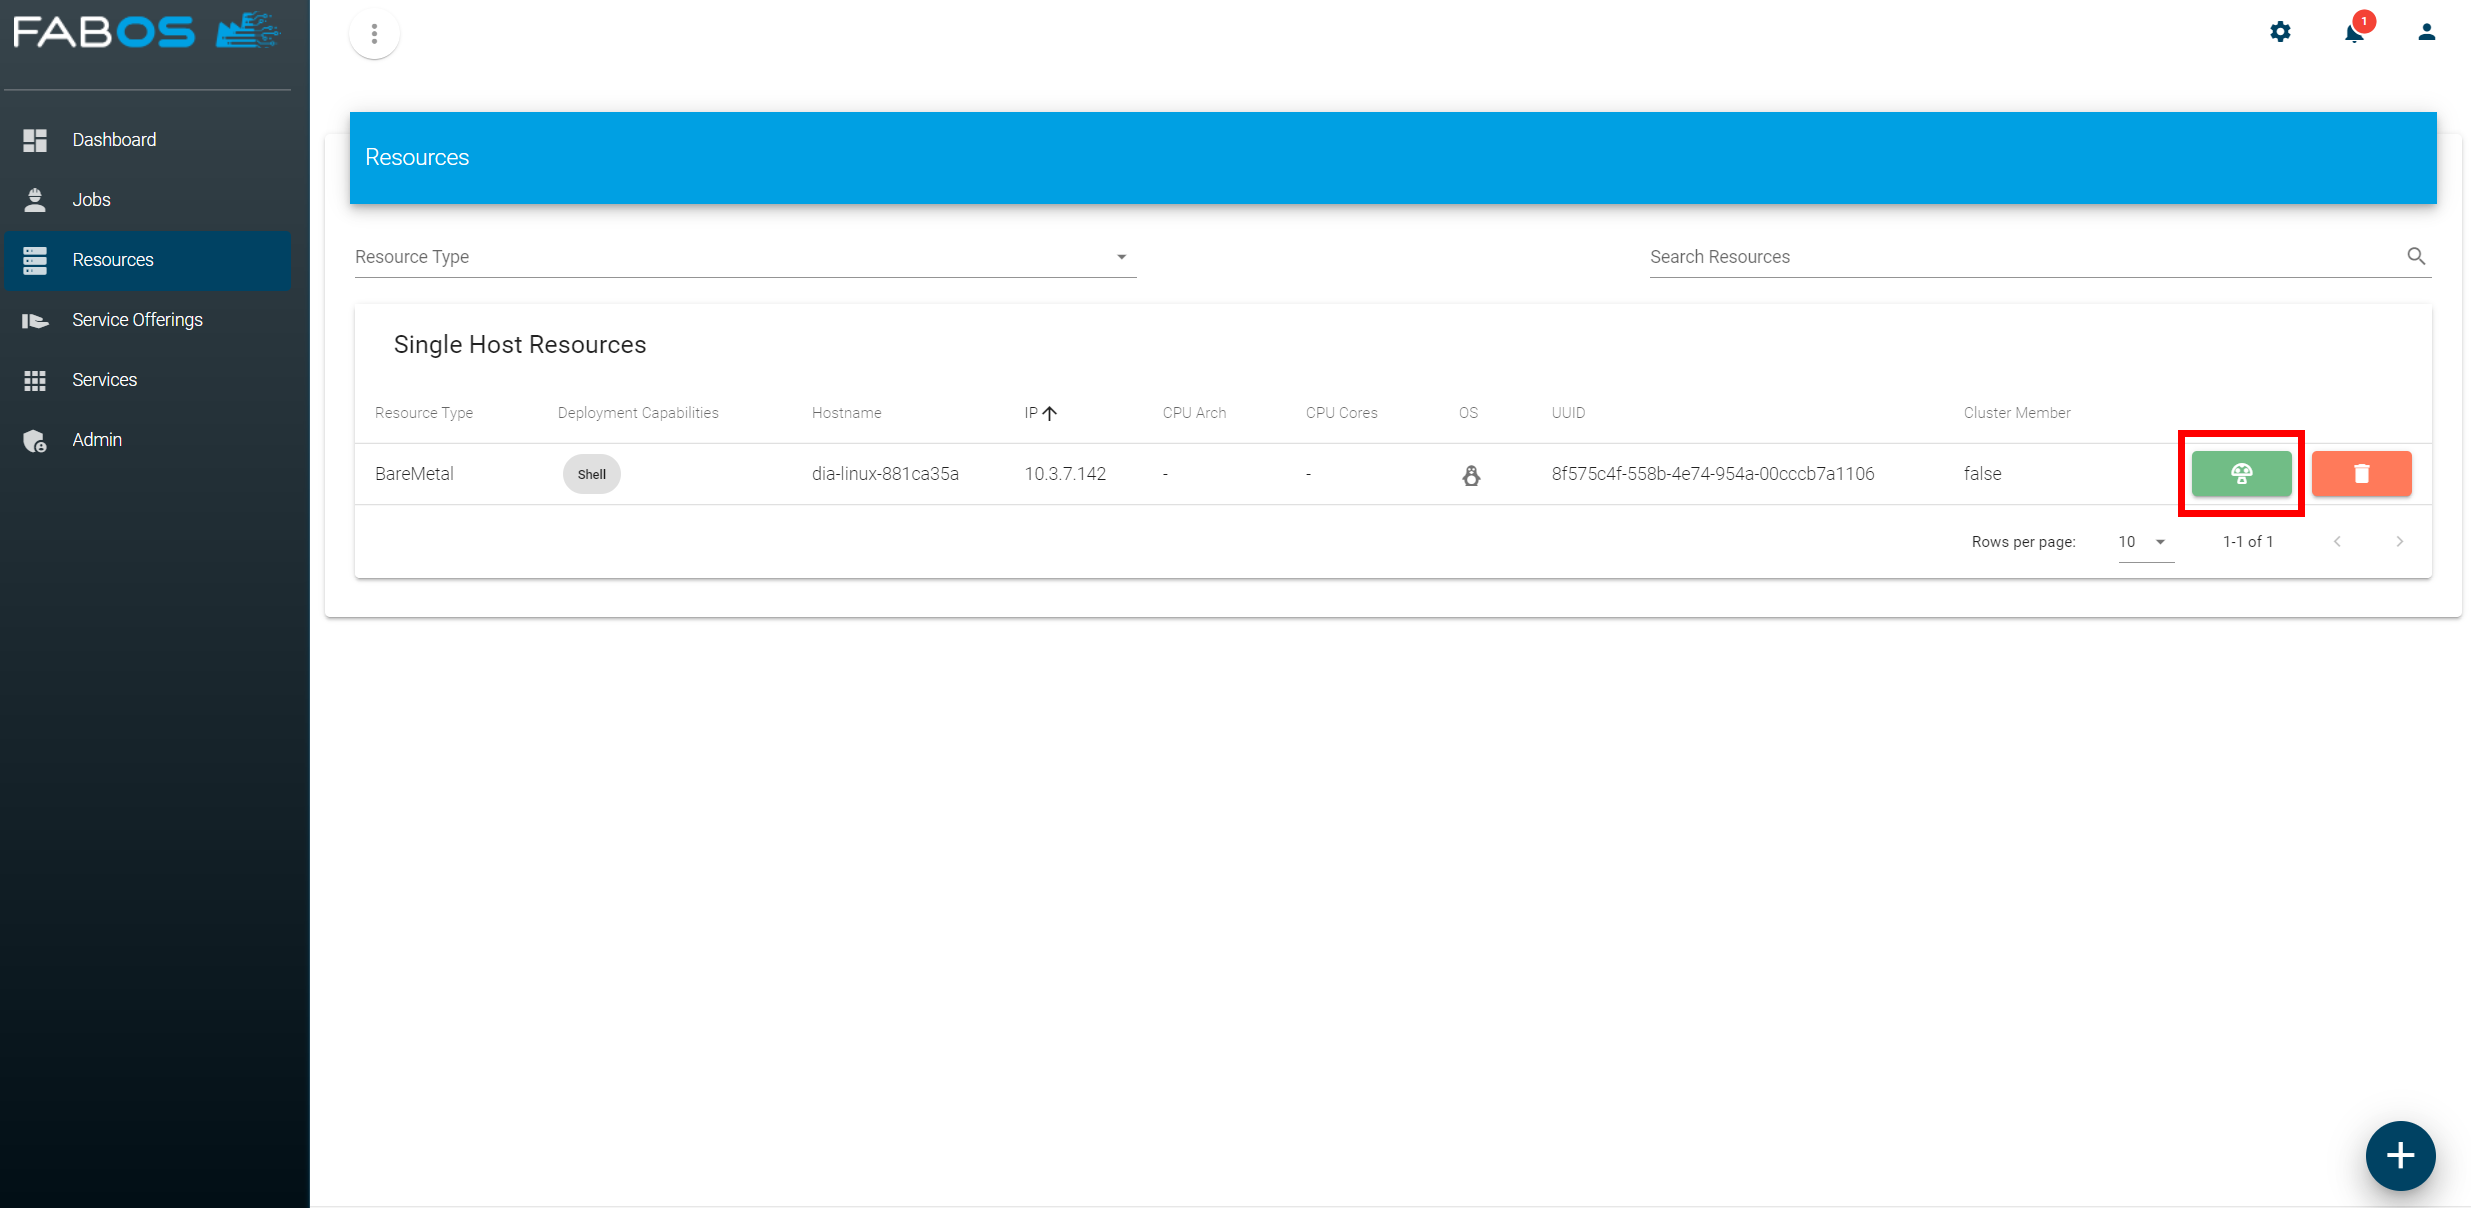
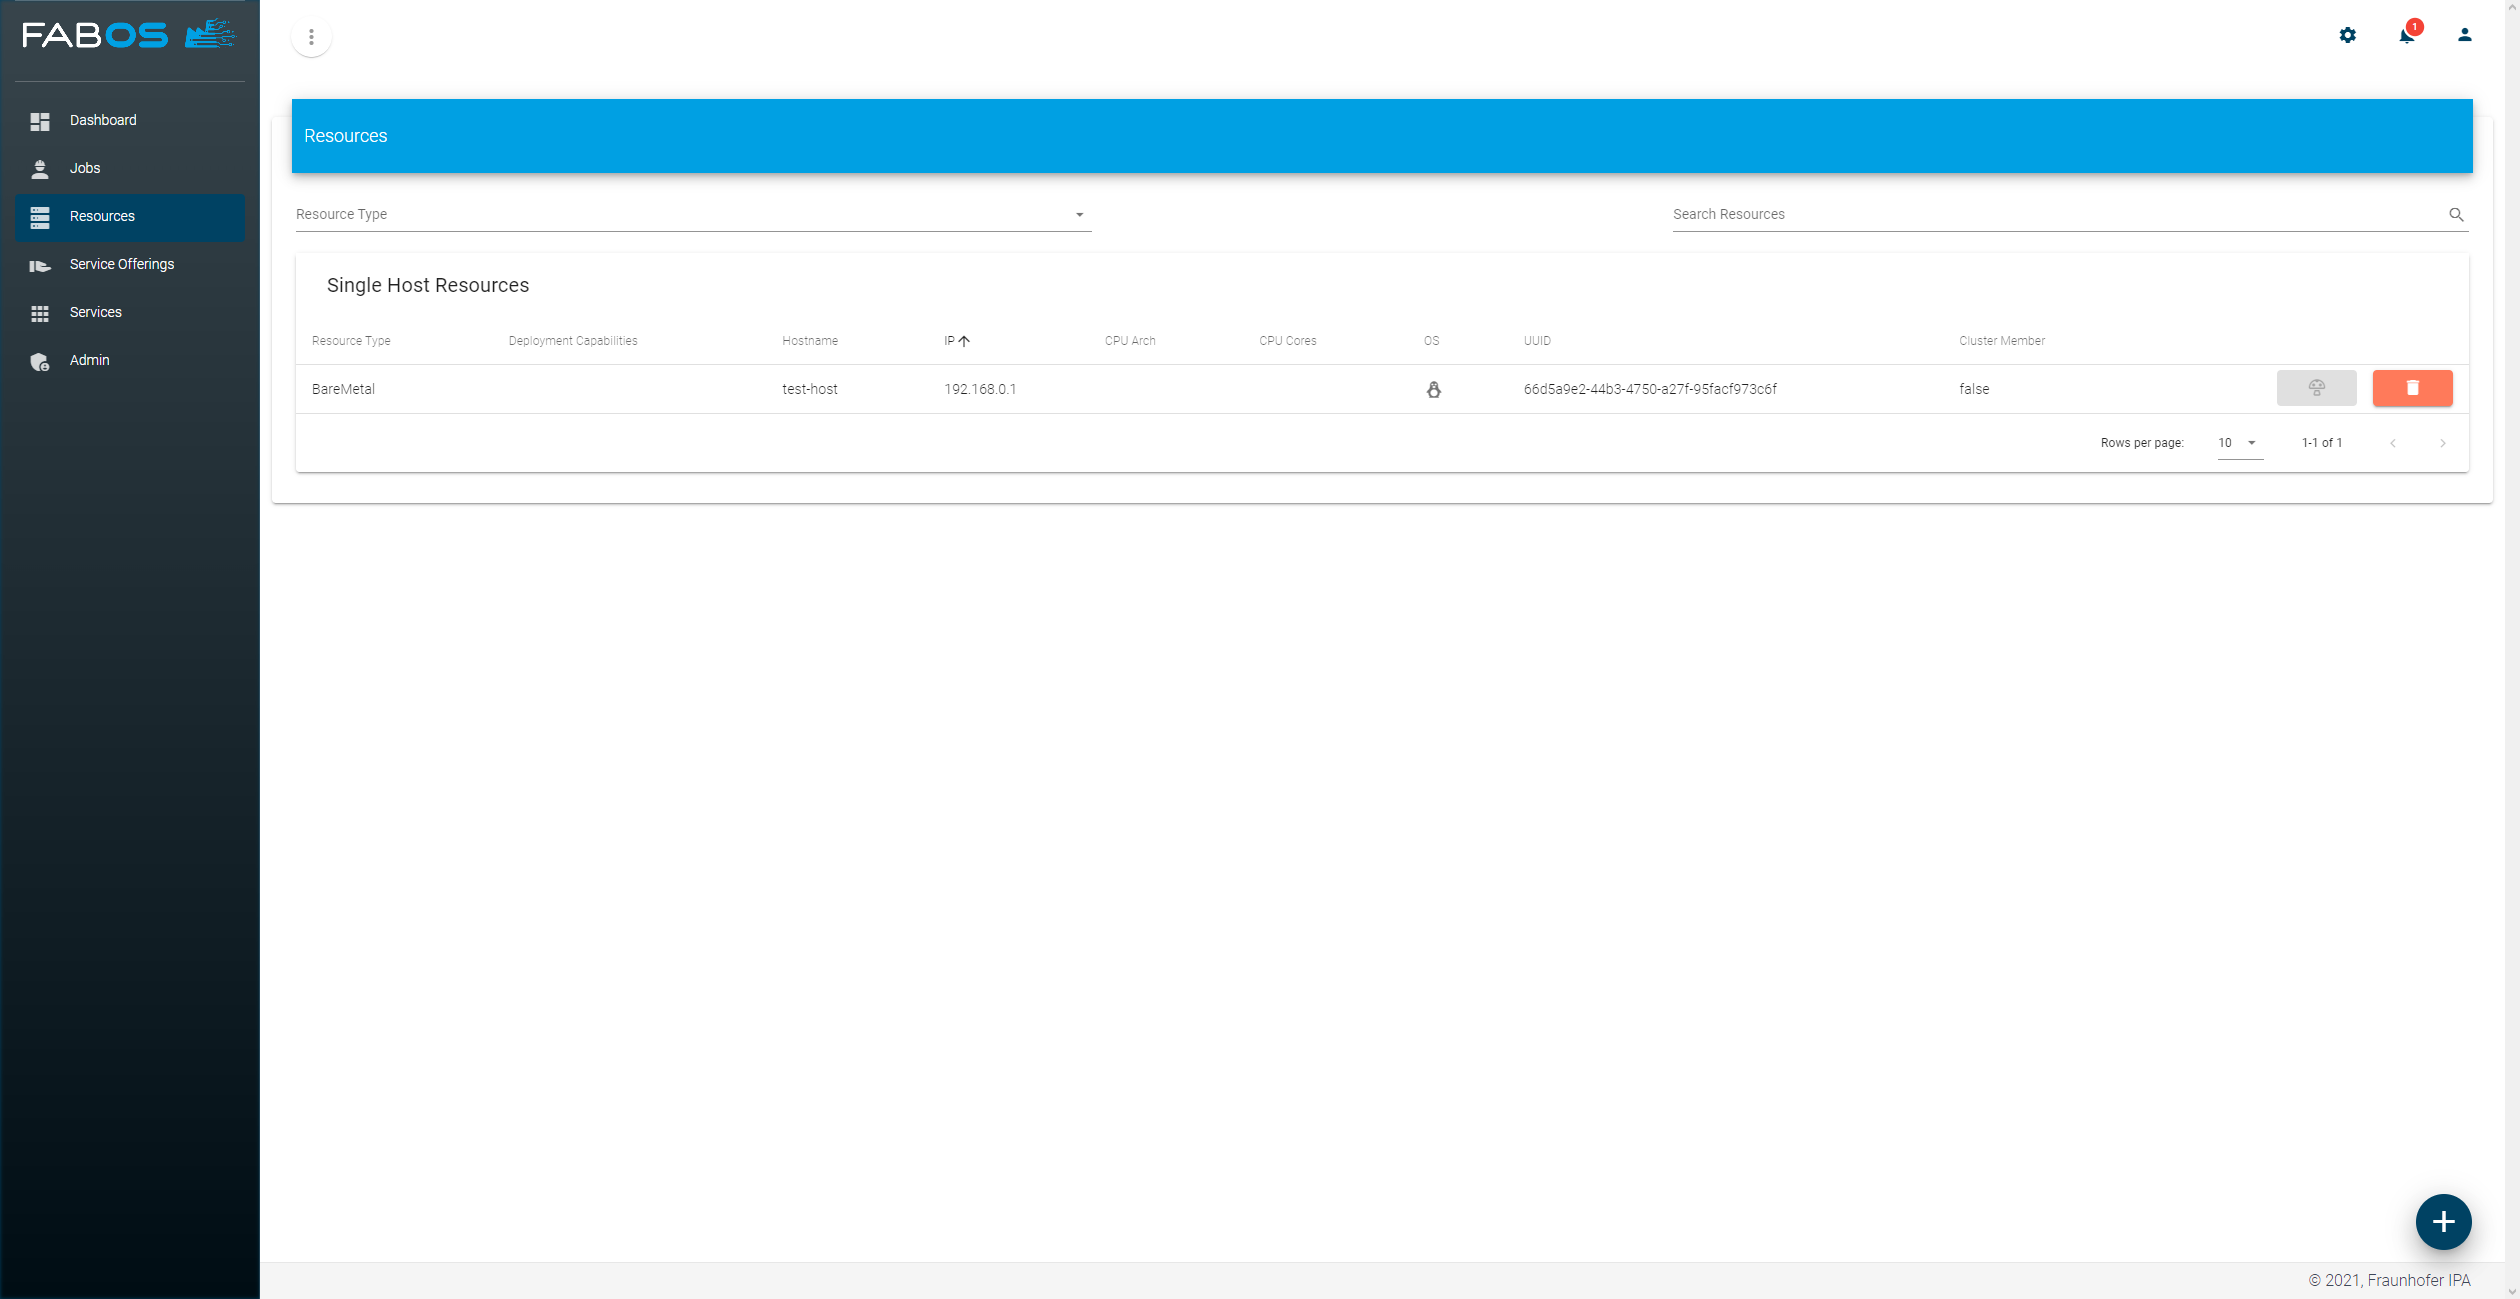
which are added during the initial startup. In rare cases this adding process fails and consequently no deployment capabilities are available in the UI:
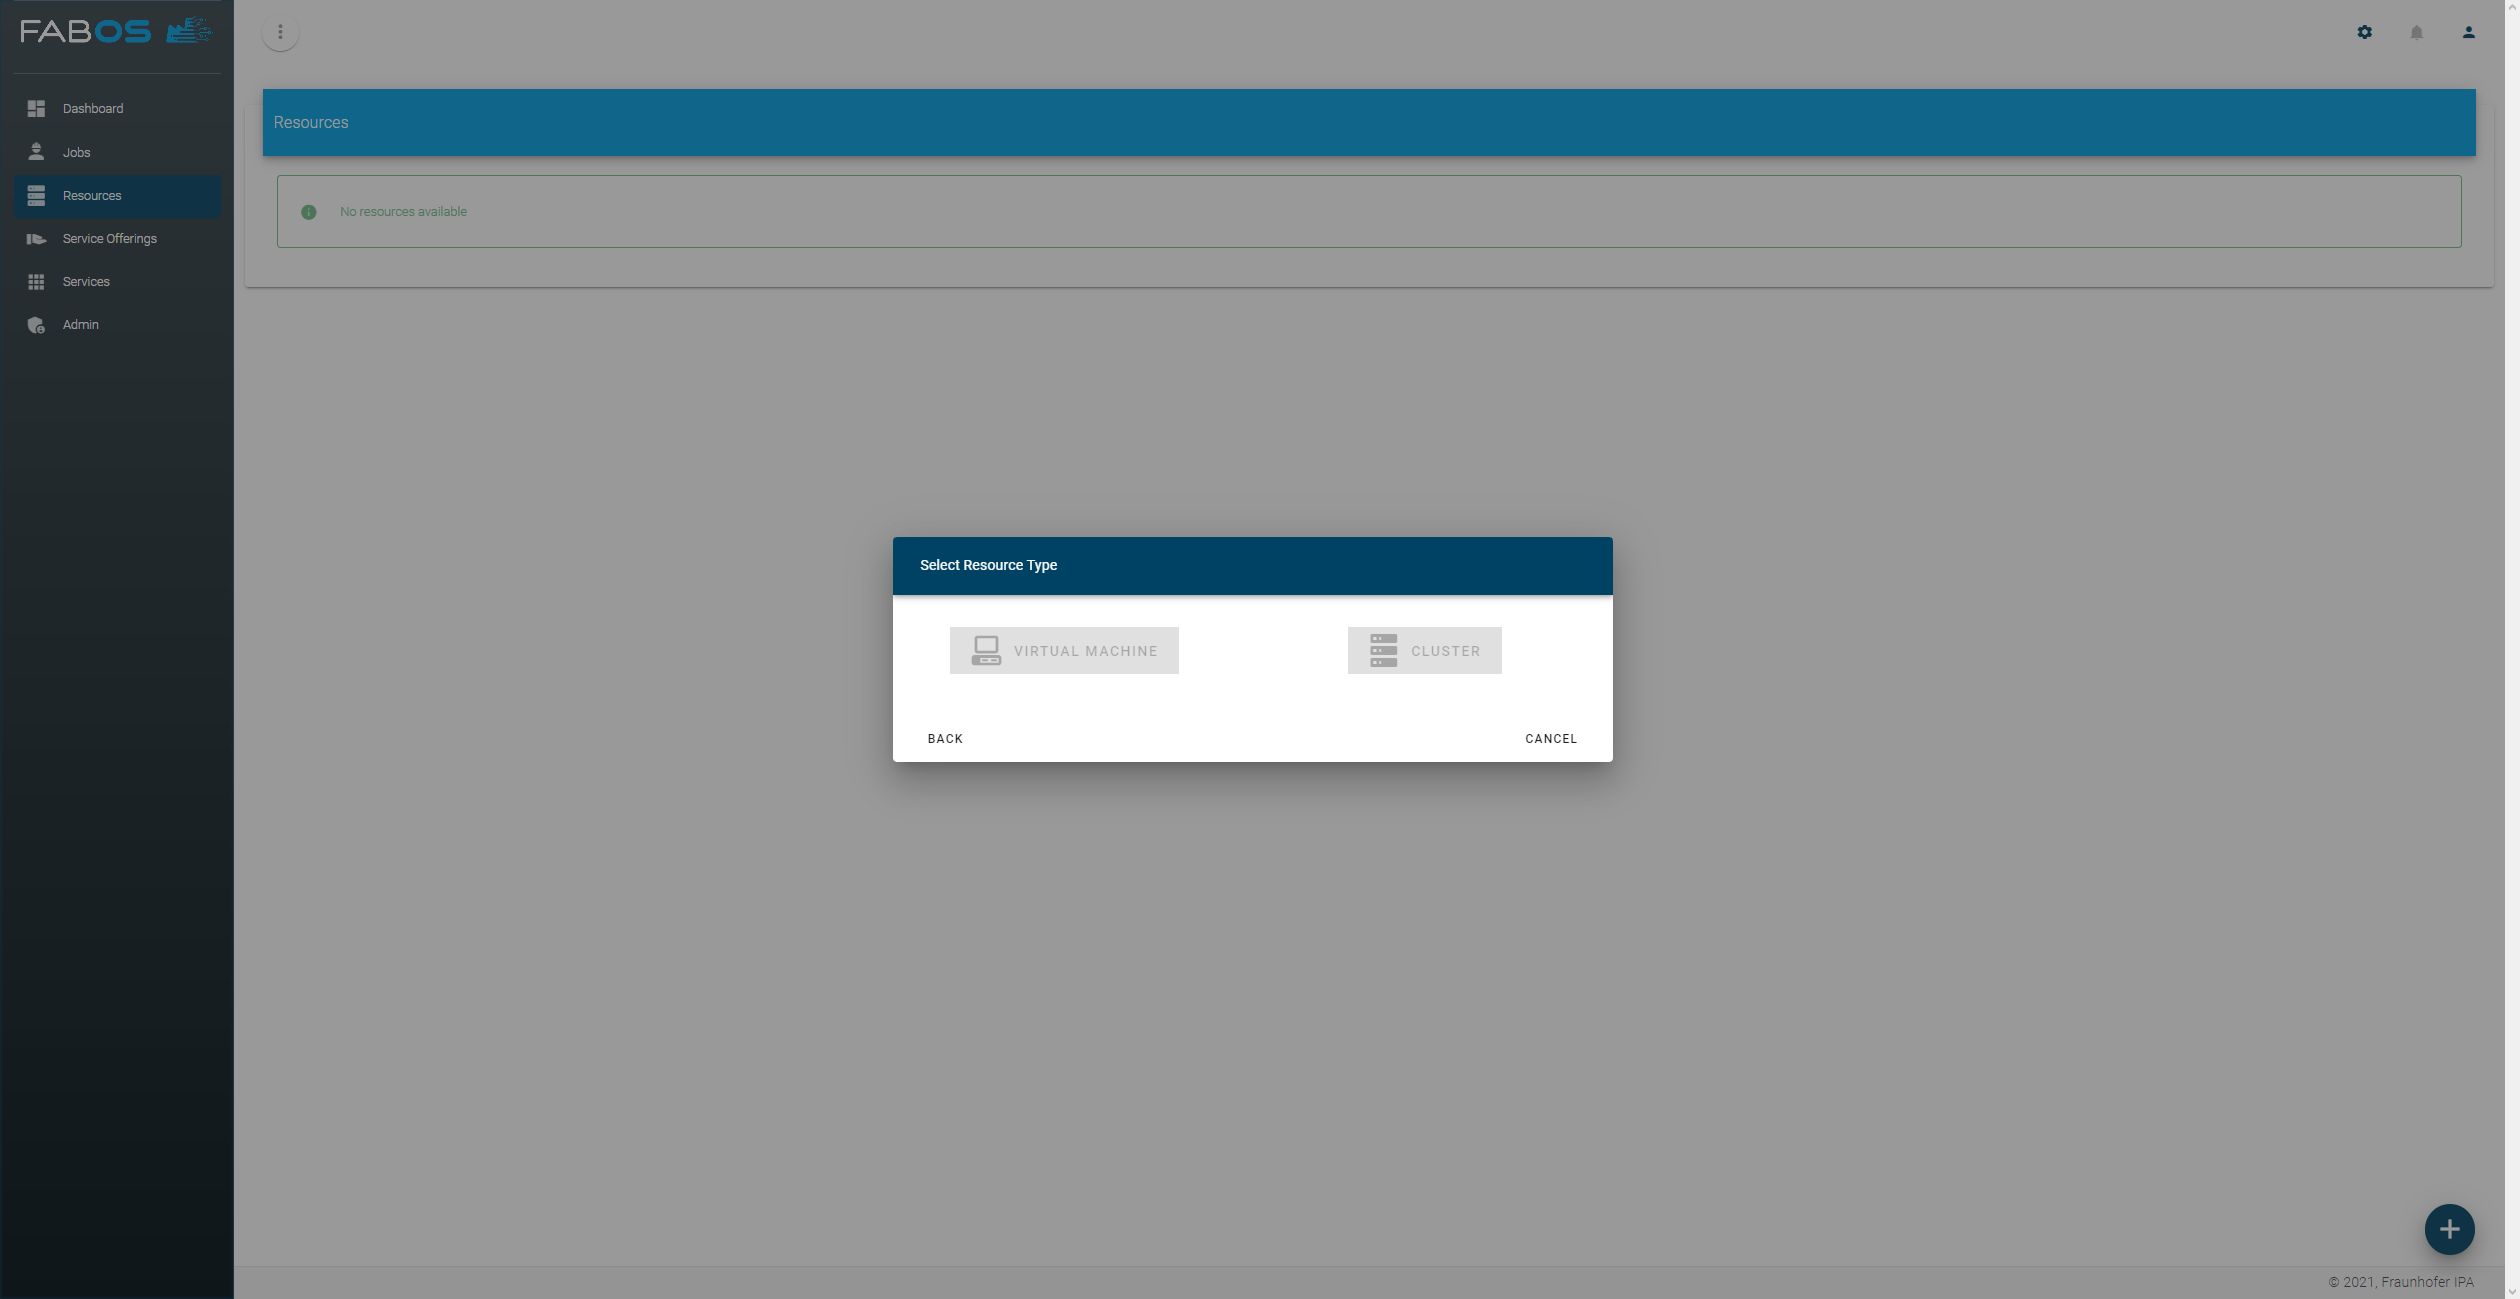
To fix this start the container resource-registry-init again by running:
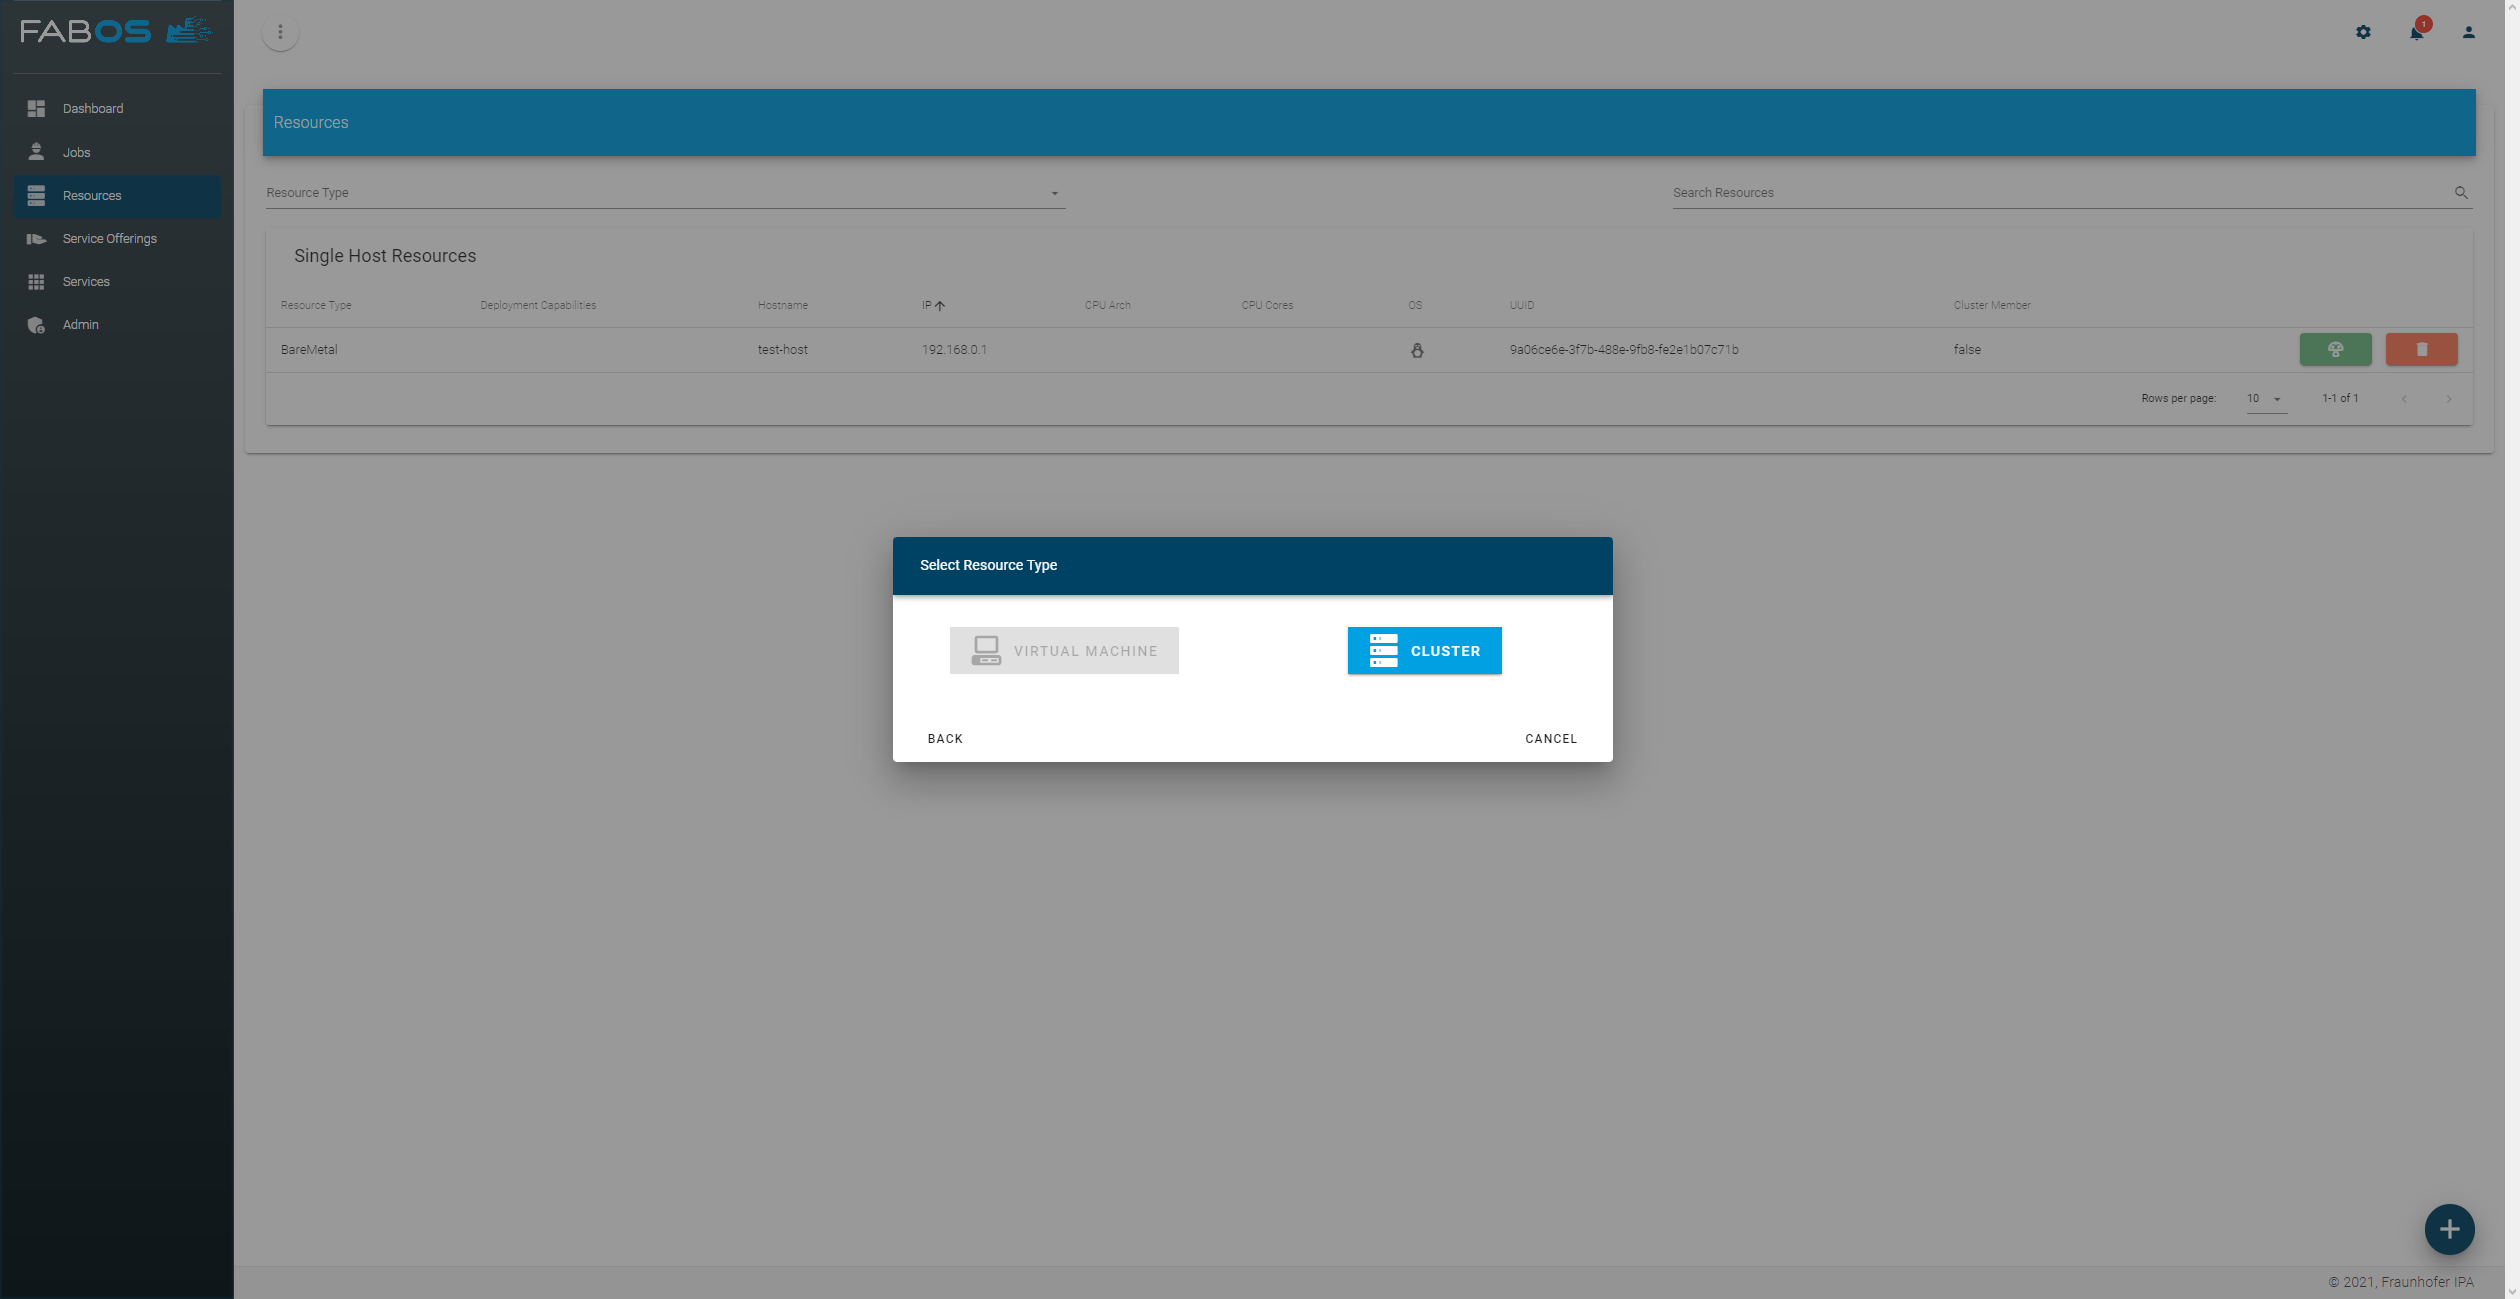
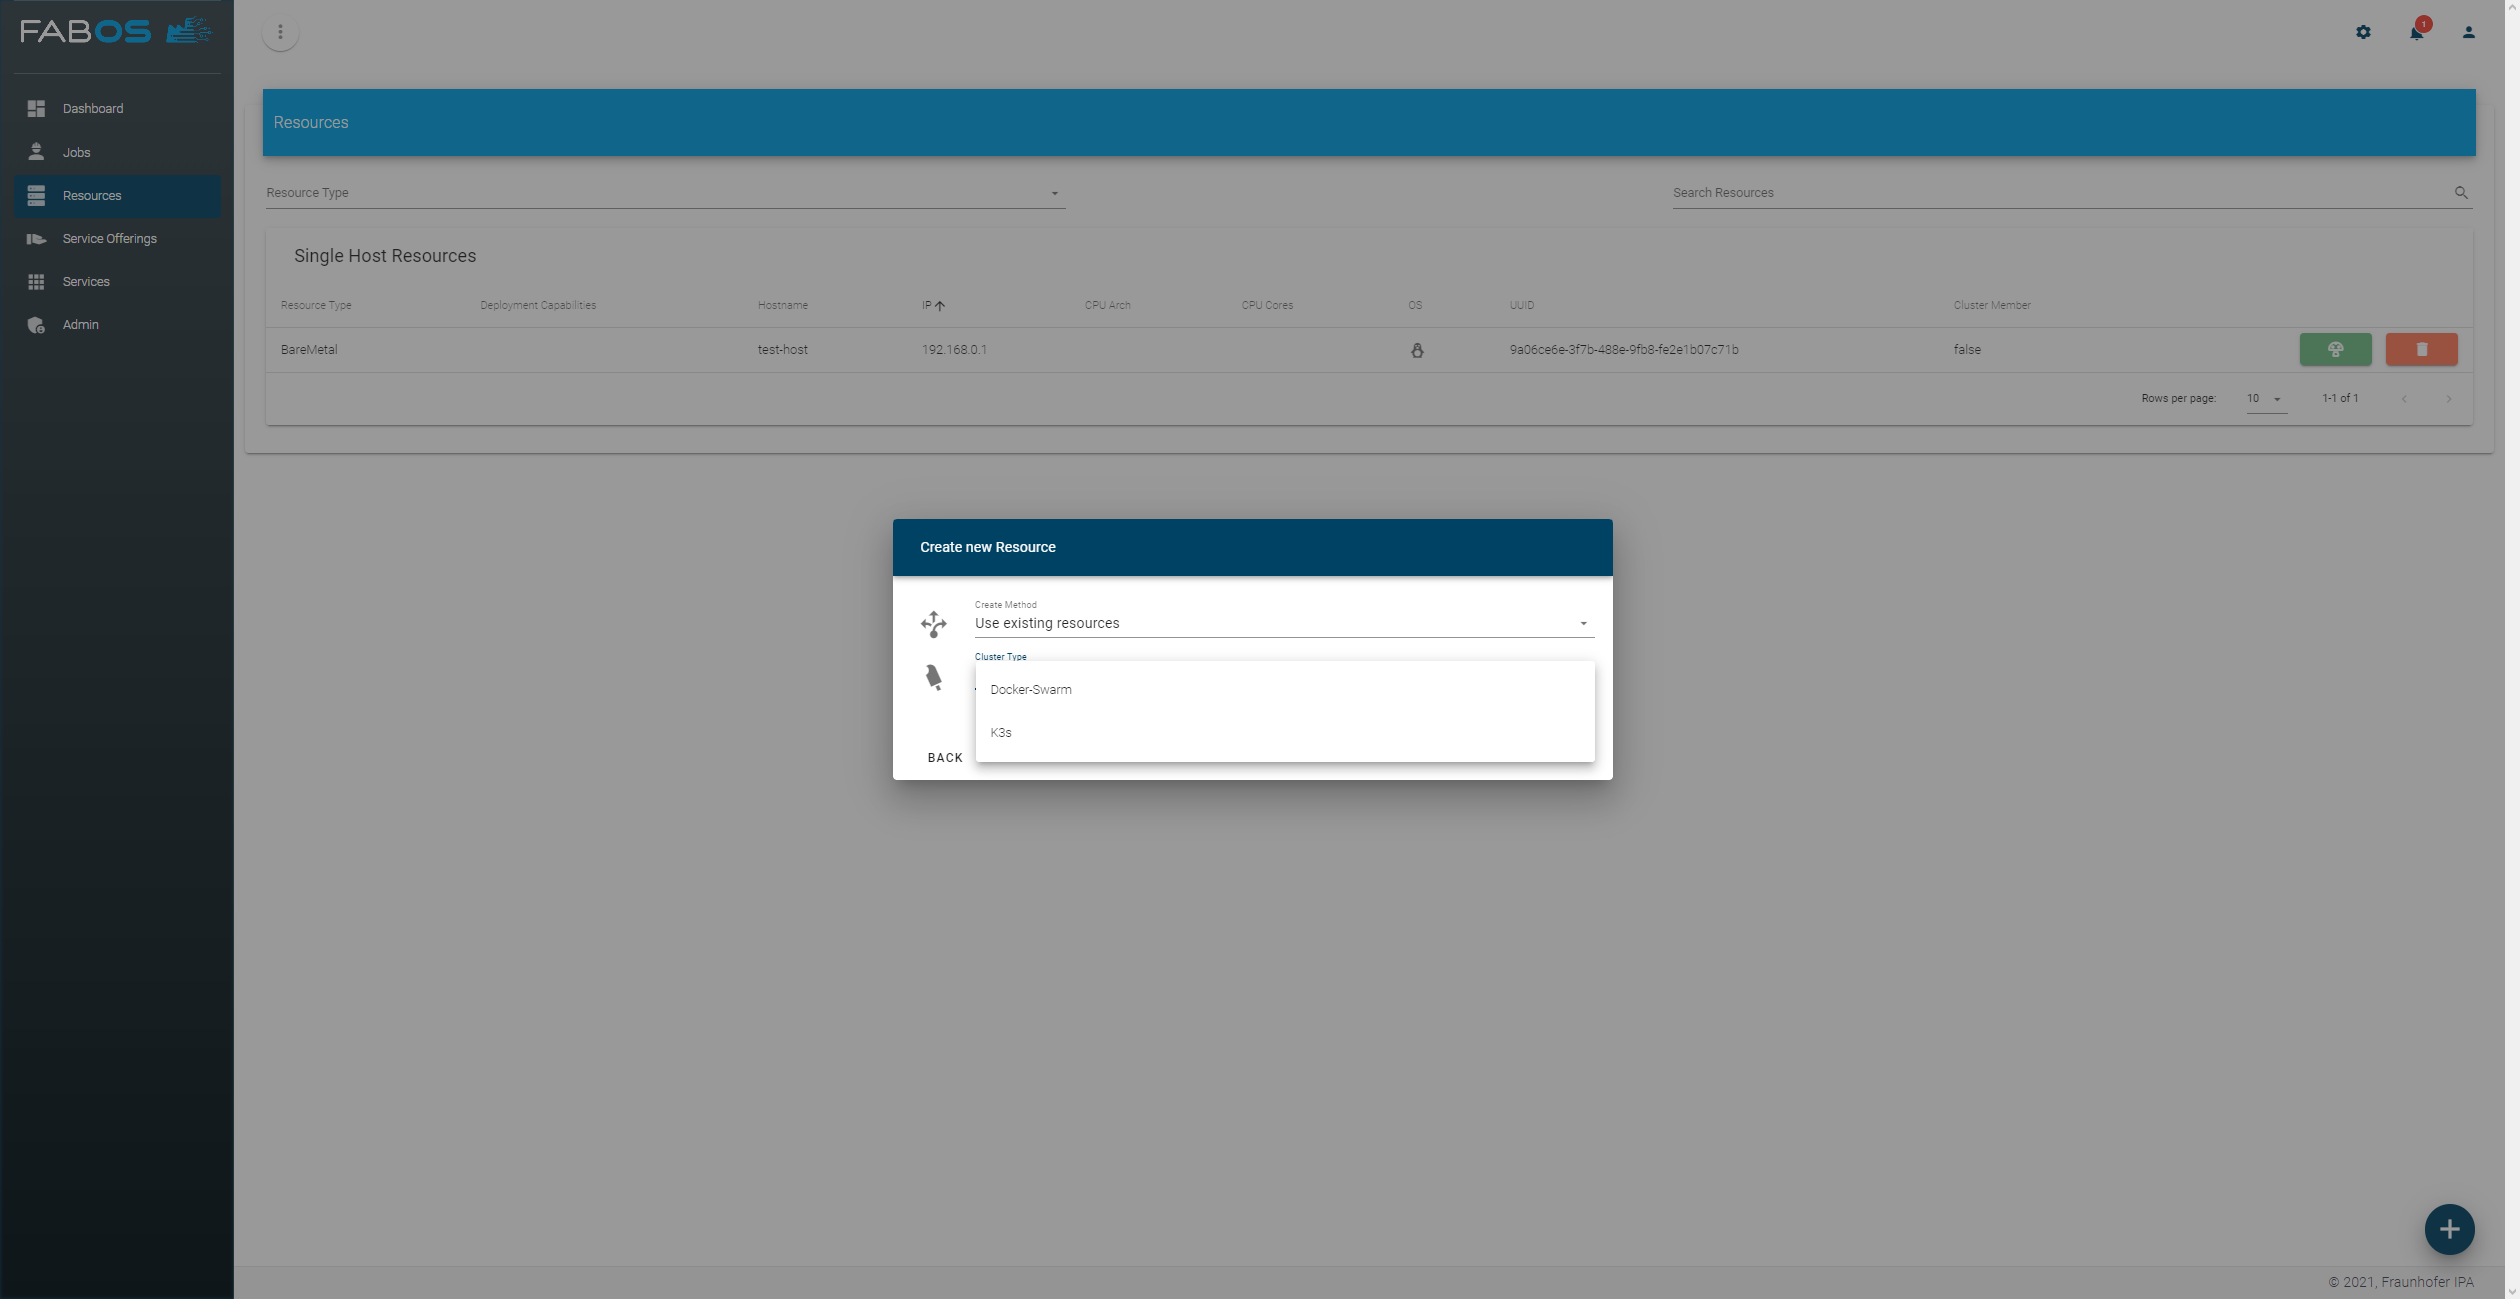
docker-compose up -d resource-registry-initAfter the container has started and has added the deployment capabilities and it will stop by itself. The capabilities (single host and cluster) should be available after reloading the ui: